Earthy Bronze-toned Multistrand Beaded Necklace
Hello! Today on the blog, I will be showing you how to make an earthy multistrand necklace, using an assortment of the lovely Just Bead It beads. For this design, I wanted the three strands to have a cascading effect of varying lengths, to really highlight the bronze-toned and green gemstone beads in each strand. I hope you enjoy!


- JBNS43 - Large Canadian Jade beads
- JBNS74 - Medium Canadian Jade beads
- JBNS36 - Small Canadian Jade Beads
- JBNS61 - White Howlite Beads
- JBNS67 - Medium White Magnesite beads
- JBNS50 - Small White Magnesite beads
- JBI40 - Unakite beads (mottled green and red)
- JBX36 - Large Bronze Faceted Glass beads
- JBX29 - Medium Bronze Faceted Glass beads
- JBX43 - Small Bronze Faceted Glass beads
- JBX77 - Large Brass Beads
- JBX60 - Medium Brass Beads
- JBX53 - Small Brass Beads
- JBI59 - Alloy Fower-shaped beads
- JBI86 - Alloy Bicone beads
Additional products used:
- Beading wire
- Crimp beads
- (bronze) Crimp covers
- Crimping pliers
- Wire cutters
- Round nose pliers
- Bent-nose pliers
- 5-strand bronze bar ends (x2)
- Bronze toggle clasp
- Bronze/gold Jumprings (x2)
- Gold eyepins
- Gold spacer beads
- Silver spacer beads
- Bead board for planning pattern (optional)
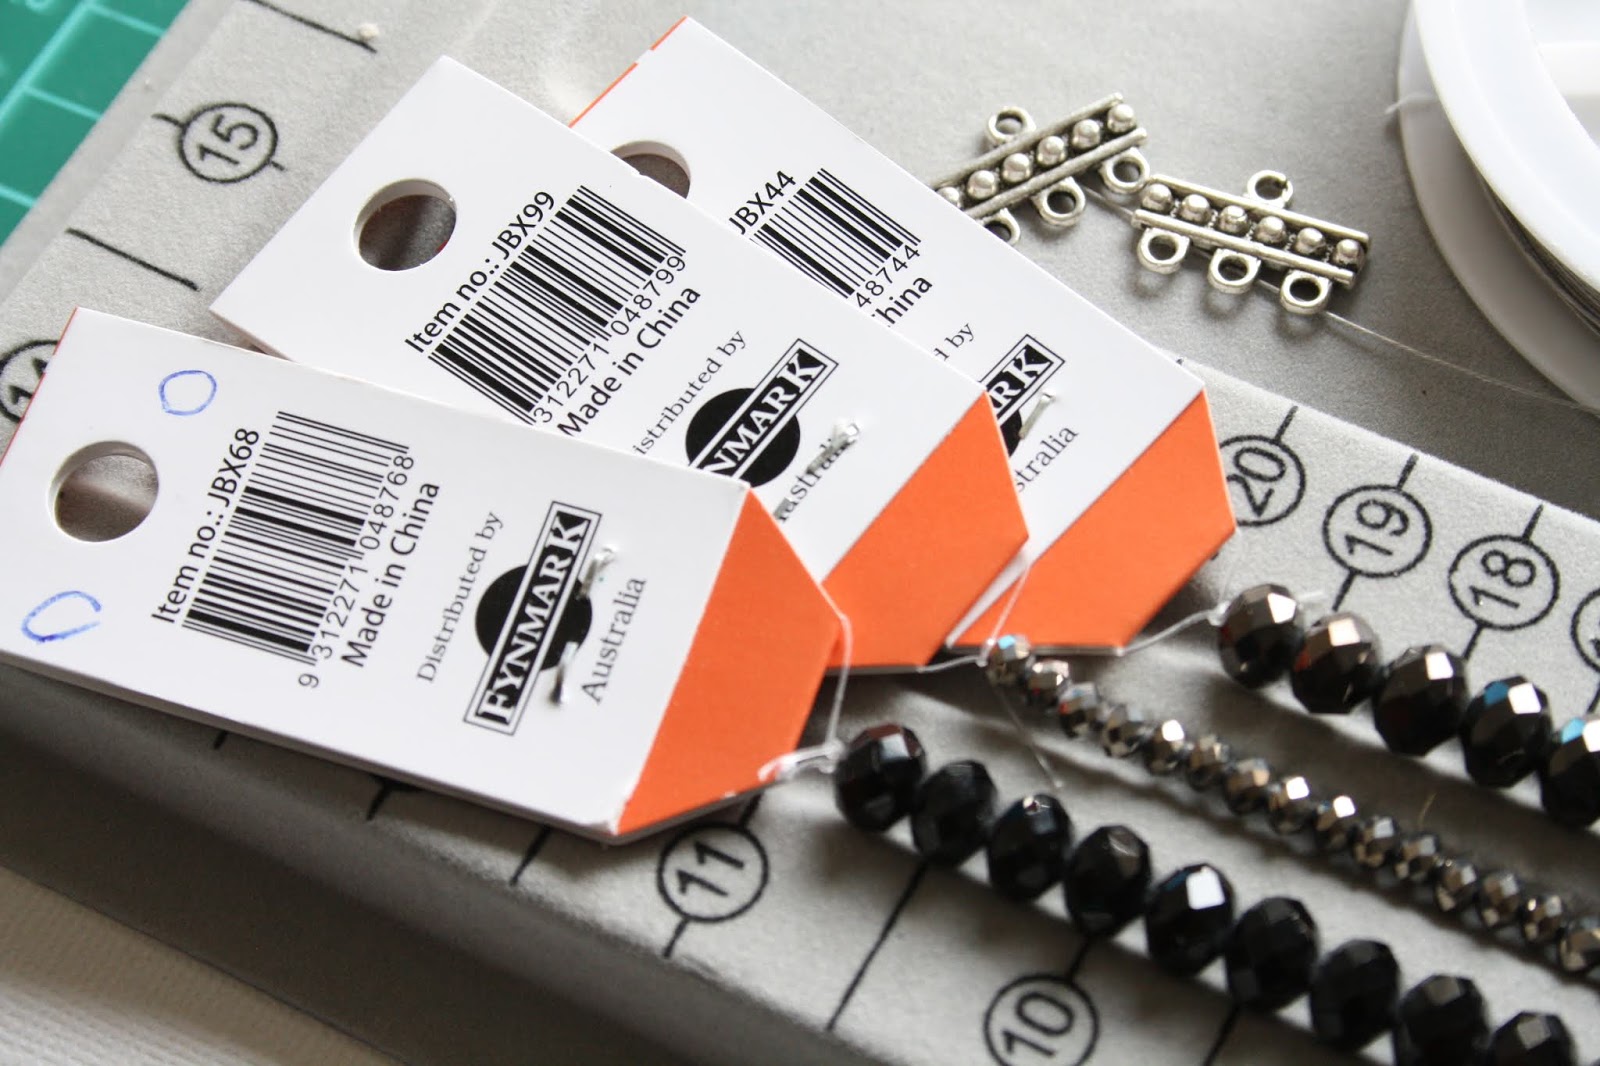
 |
| Note: not all of what I used is in this picture, and some of the items shown here did not end up in the final design... see materials list above for an accurate list of all materials used |


Firstly, start by attaching the first wire to the furthest loop on the 5-strand bar end (even though this is a 3-strand necklace, I wanted there to be some space between the strands, so to achieve this, the wires will be placed on the 1st, 3rd, and 5th loops in order to give the spaced-out effect I was after). To do this, place a crimp bead on the wire, thread the wire through the loop and back through the crimp and secure with crimping pliers. You can now place a crimp cover over the top to hide the raw crimp, as well as for added security.


Now, you can begin threading the beads. For each of the strands, I started by threading the same three beads just to give a bit of continuity. I started with a medium Canadian Jade bead (JBNS74) in between two silver spacers. For the rest of the design, the pattern of beads is supposed to be fairly random, but I planned what beads I was going to use on a bead board. You really just need to be adding a random mix of the seed beads (JBI788), the small and medium Canadian Jade (JBNS36, JBNS74), each of the white magnesite (JBNS50, JBNS67), and each of the sizes of bronze faceted beads (JBX36, JBX29, JBX43). Use the white howlite (JBNS61), Unakite beads (JBI40) and large green Canadian Jade beads (JBNS43) sparingly, because these are going to be the main focal beads.


After you have strung about 10cm worth of beads, stop and make a mini charm attachment by using a gold eyepin, and one gold spacer bead on either side of a single JBNS43 Canadian Jade bead. Use round nose pliers to curl the other side of the eyepin toward the beads to form a single loop on both sides.


Now that you have this "charm" attachment, add a crimp bead to the wire you were working with before, then add a couple more seed beads, and thread the wire through one of the loops on the charm you just made, and back through the crimp.
Secure the crimp with crimping pliers, and add a crimp cover over the top.
Now, cut the long tail of wire (threading the excess through the other beads), and begin the rest of the necklace by adding a crimp to a new piece of wire, and threading it through the other loop on the "charm", and securing with crimping pliers. Adding a couple of seed beads before the crimp is a good way to let the crimp blend into the rest of the beads, and not stand out as much. Add a crimp cover over the top, and you can now begin to thread a random pattern of beads, just as before.

 |
| Thread the wire through the Jade charm and back through the crimp on the other side |
 |
| Cut the tail of wire and tuck the excess into the beads before it |
 |
| Add a crimp cover over the top of the raw crimp so it blends in with the rest of the design |


Once you are happy with the length of the first strand (keep in mind that the first strand should be the longest of the three in order to achieve a cascading effect of beads at the end result), you can secure it to the other bronze bar-end, and start the second strand (the middle wire). Just as before, add and secure a crimp bead and thread the same first three beads as before, for continuity's sake (1 silver spacer on both sides of a medium Canadian Jade bead (JBNS74)). Continue adding a random pattern of beads and attach a previously-made Canadian Jade charm every ~10-15cm of beads.
 |
| I added the bronze toggle clasp at this point because I wanted to test the necklace for size after I finished the first strand. If you're confident in the length you've chosen, you don't need to add the clasp until the end. |


"Just keep beading..." until you have finished all three strands :)


Once you are happy with the lengths of each strand, and the pattern is nice and varied, you can secure the last wire to the last loop on the bar end, and attach the toggle clasp if you haven't done so already. Simply add a jumpring to the outer loop of the bar end and attach a piece of the toggle to it. Do the same to the other side, and the necklace is done!


If you would like to get more information on some basic jewellery-making techniques such as how to use crimp beads and covers, and attaching lobster clasps etc, you can refer to my more thorough jewellery tutorial on the Just Bead It blog.
I hope you enjoyed this post - if you would like to view more of my designs, I also have an Etsy store called DominiquesWares which features more beaded jewellery. This particular necklace will soon be uploaded to my store, so stay tuned for that :)
If interested, you can follow me on Twitter @DominiquesWares
or Instagram: dominiques_wares
You can also follow my Dominique'sWares blog
Thanks so much for reading - happy beading!
You can also follow my Dominique'sWares blog
Thanks so much for reading - happy beading!